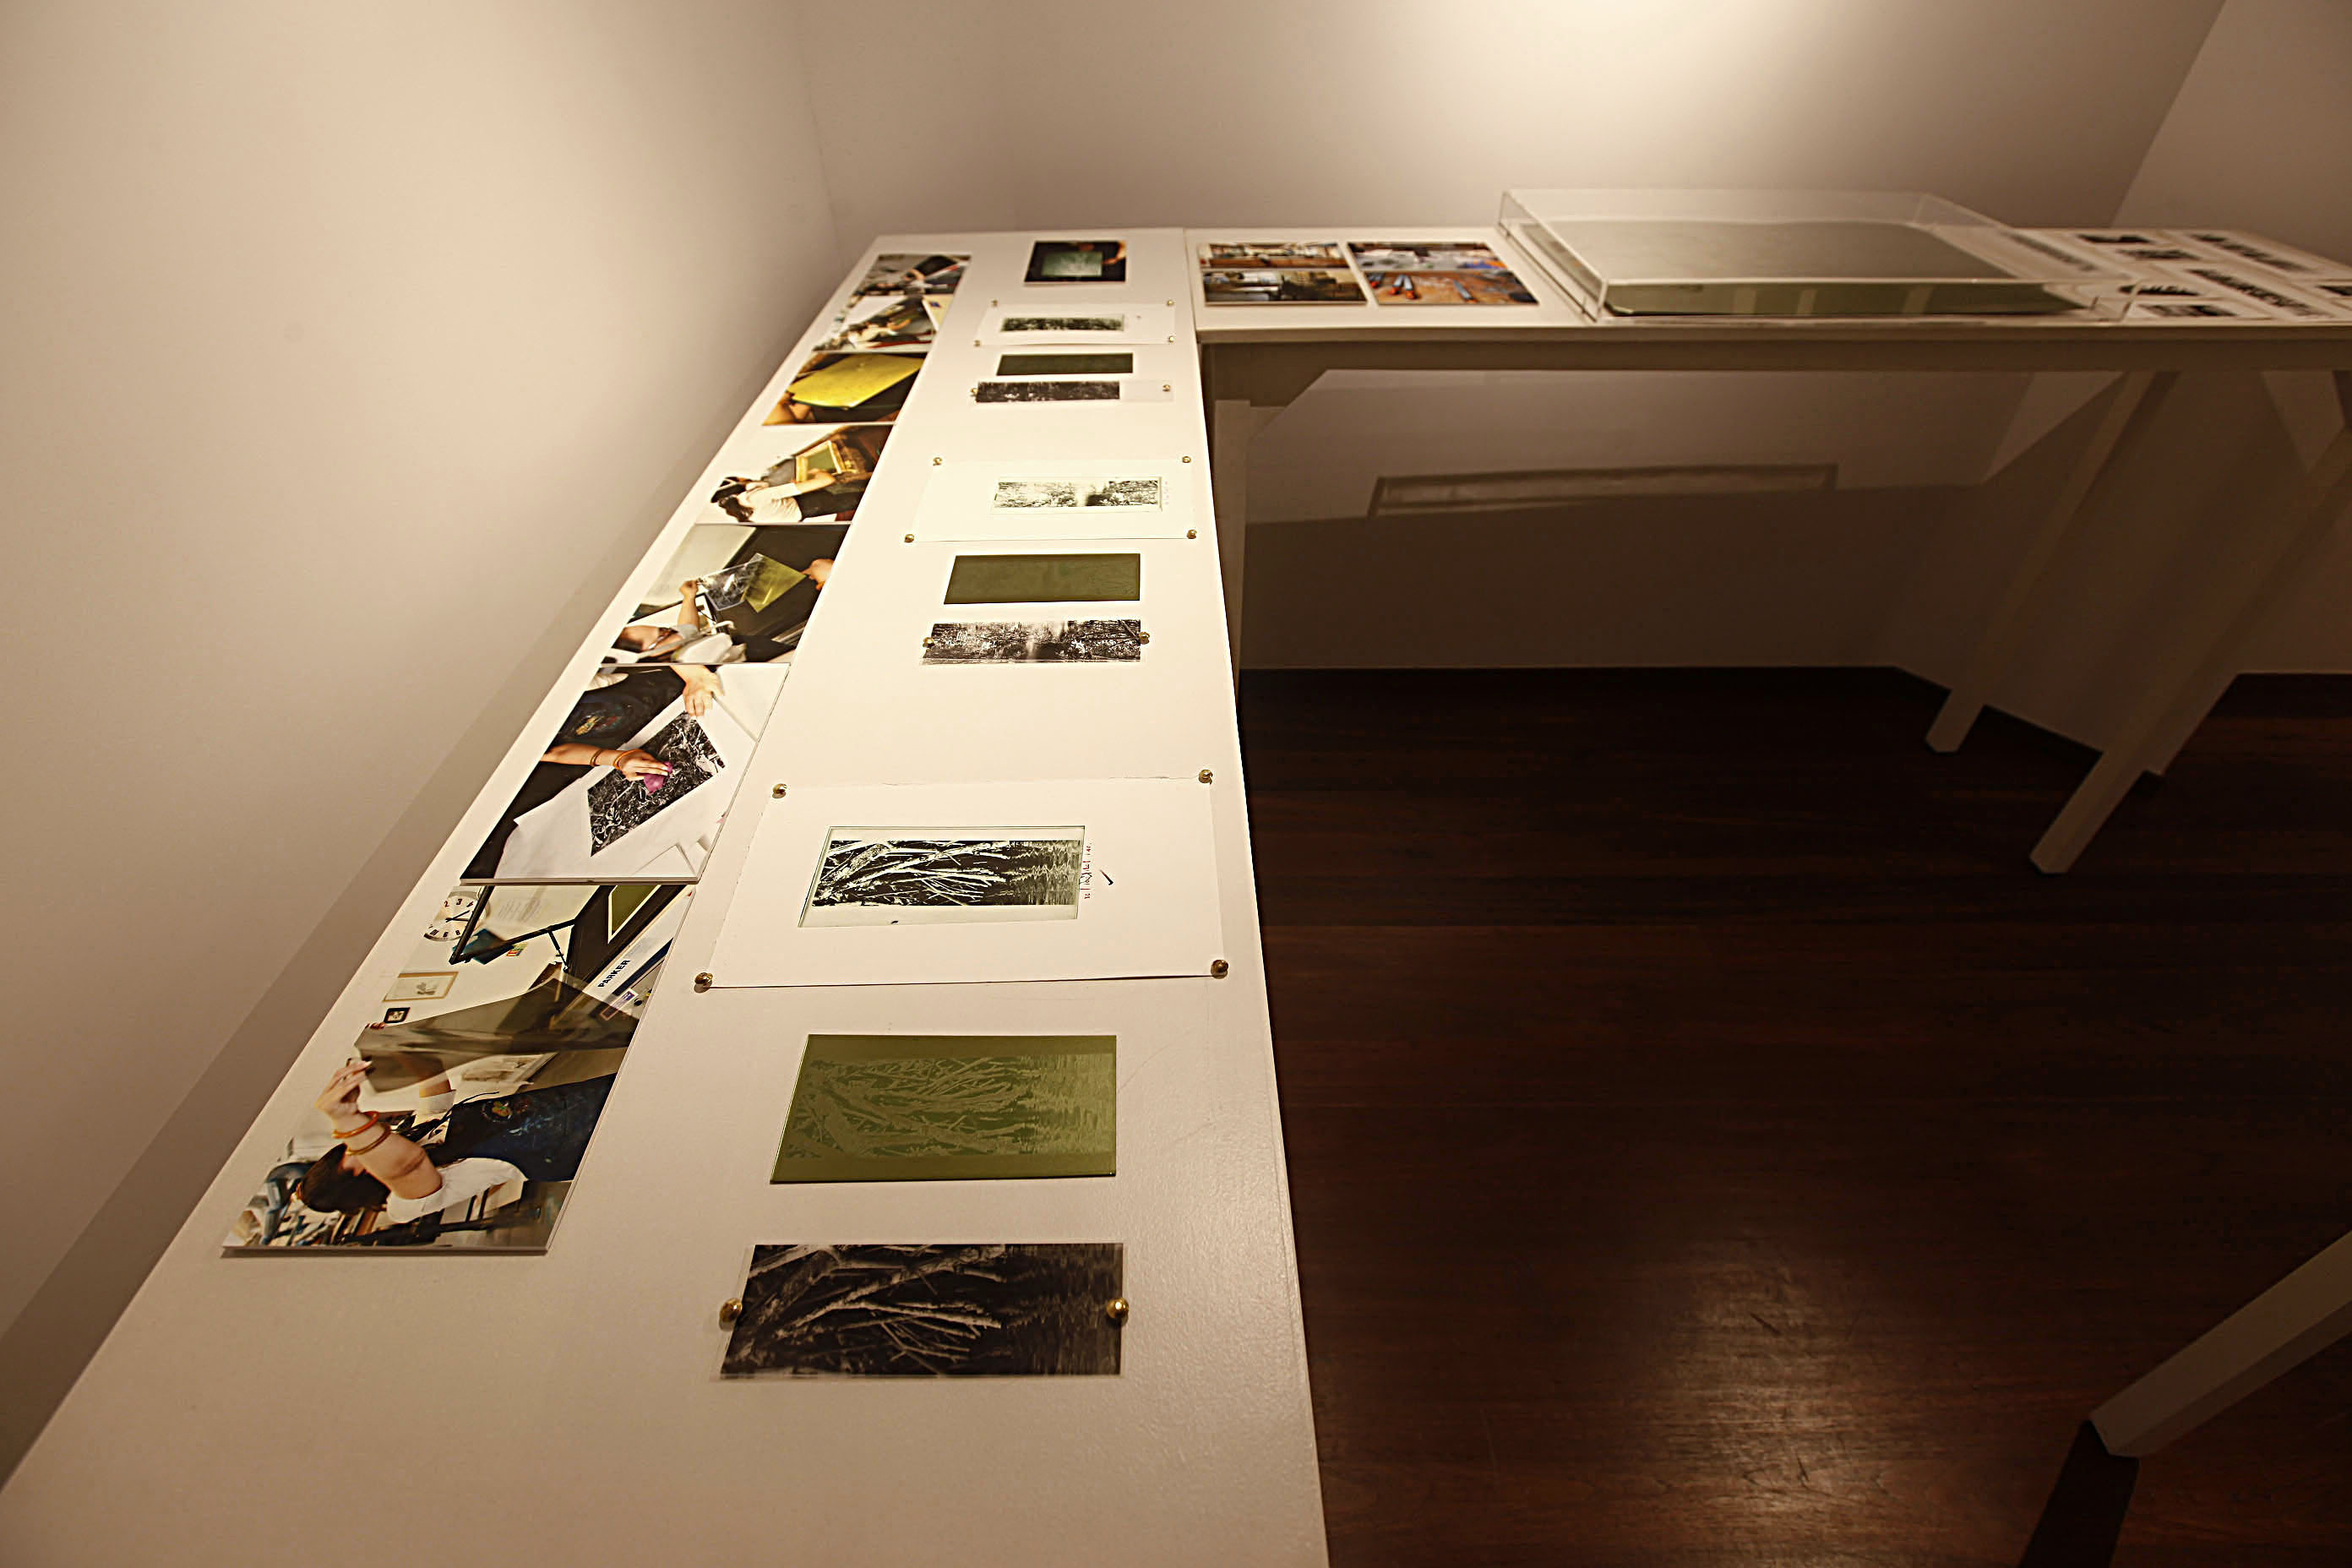
SCAPELANDS PHOTOPOLYMER GRAVURE: THE PROCESS LONDON PRINT STUDIO LONDON, UK 2014 - 2015 |
|
 | |
|
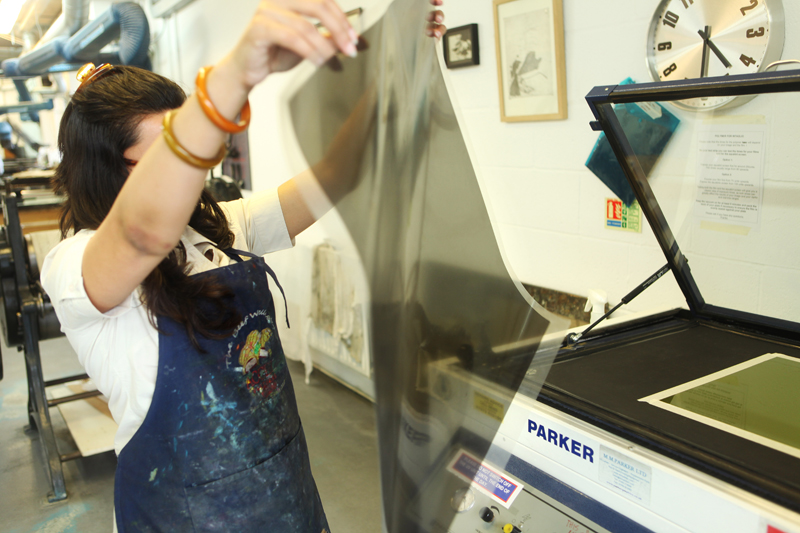
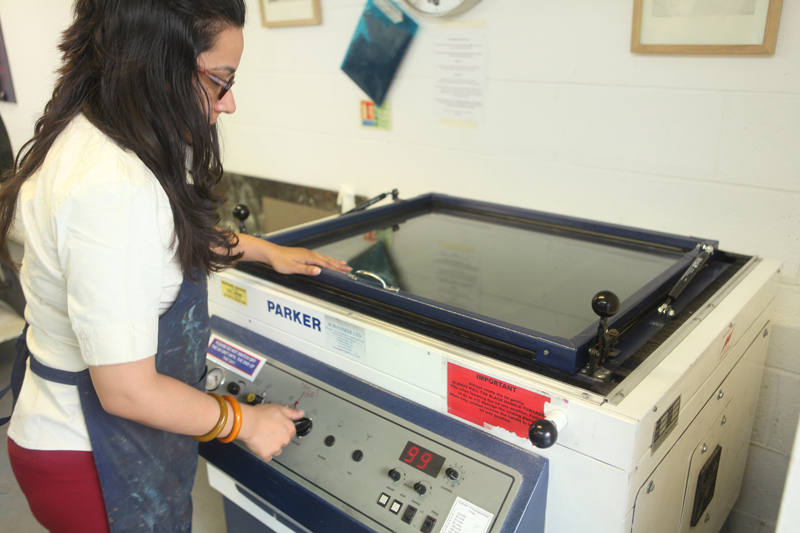
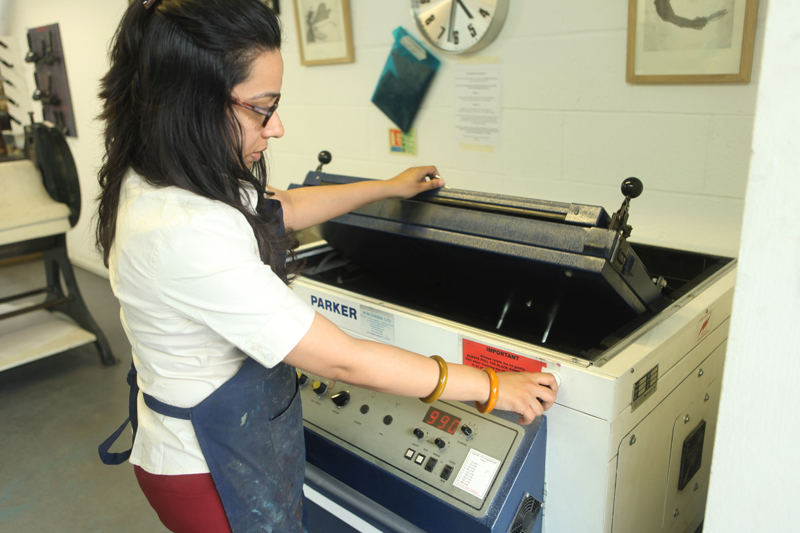
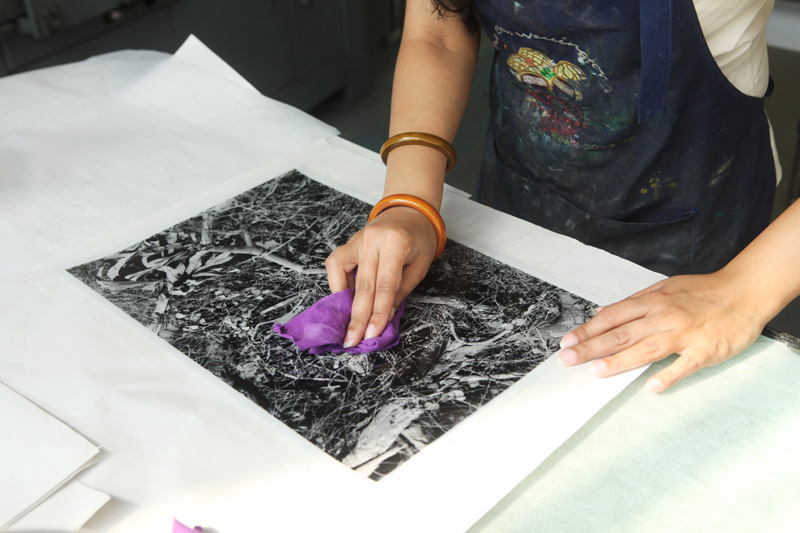
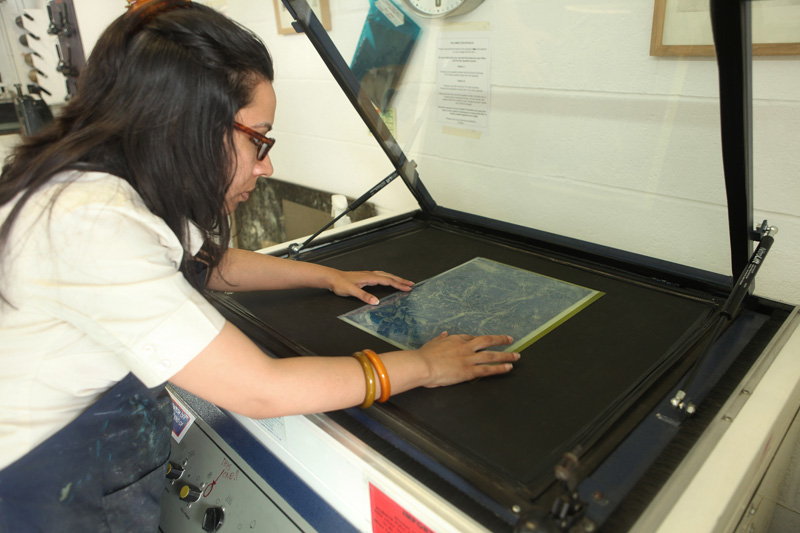
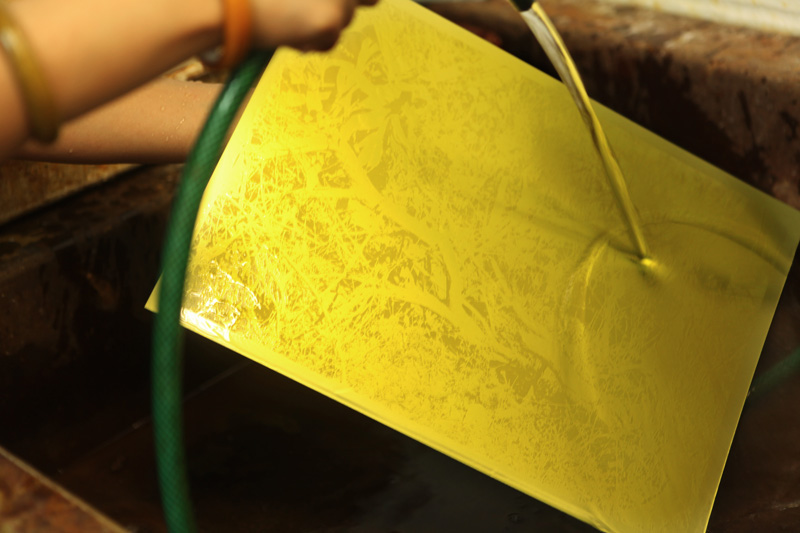
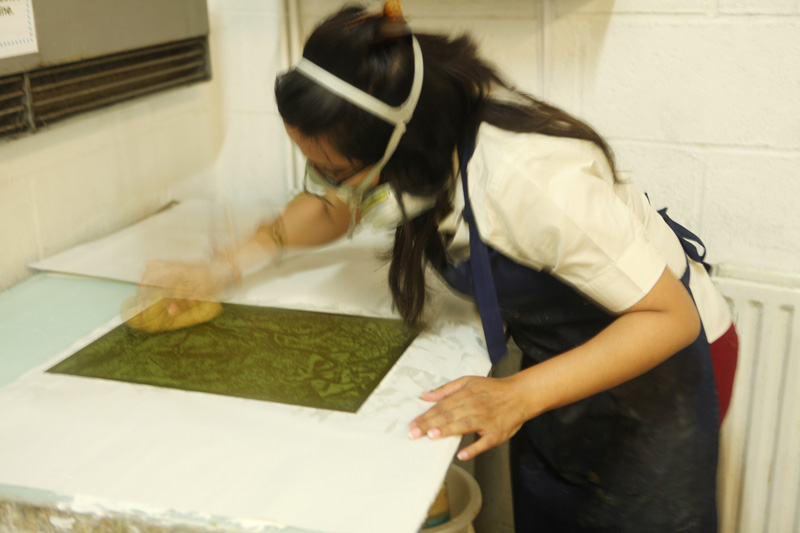
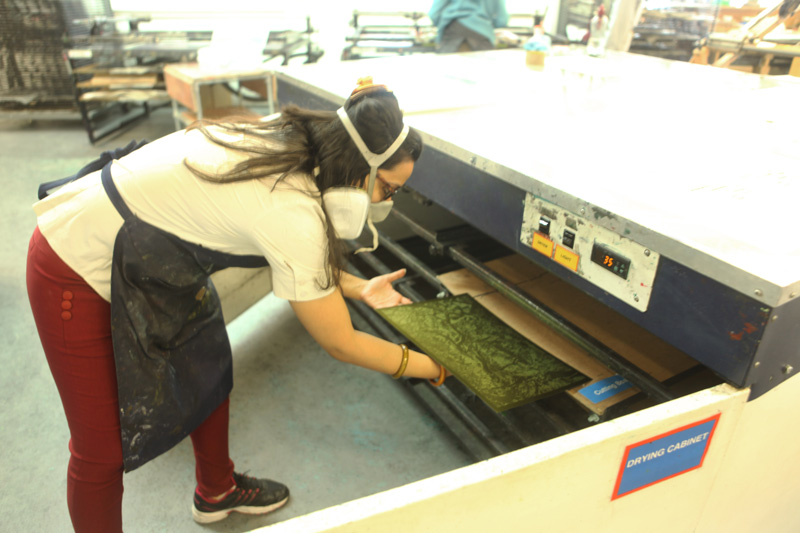
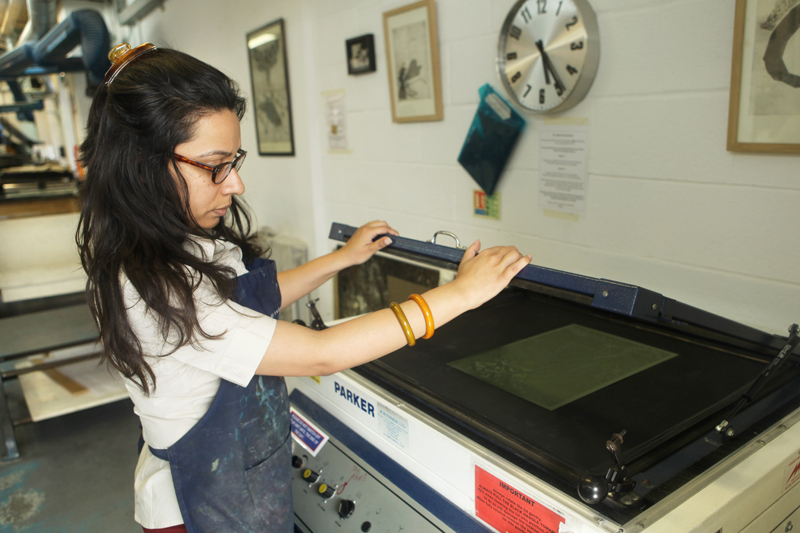
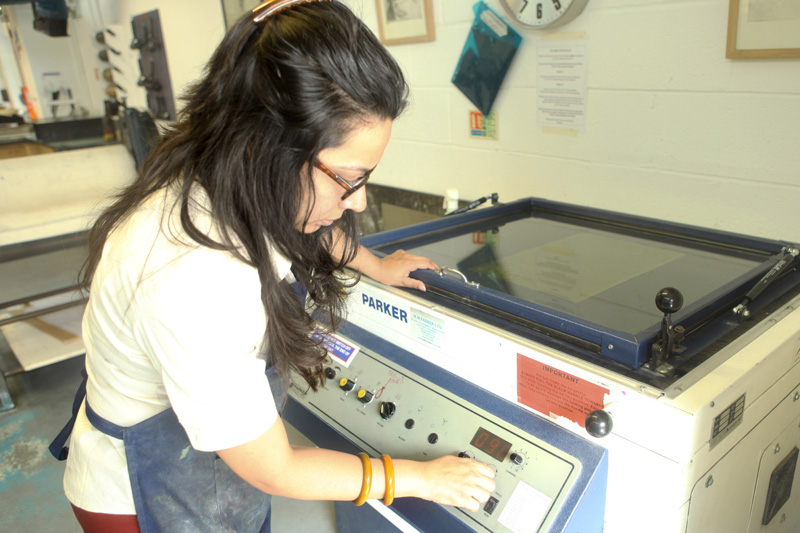
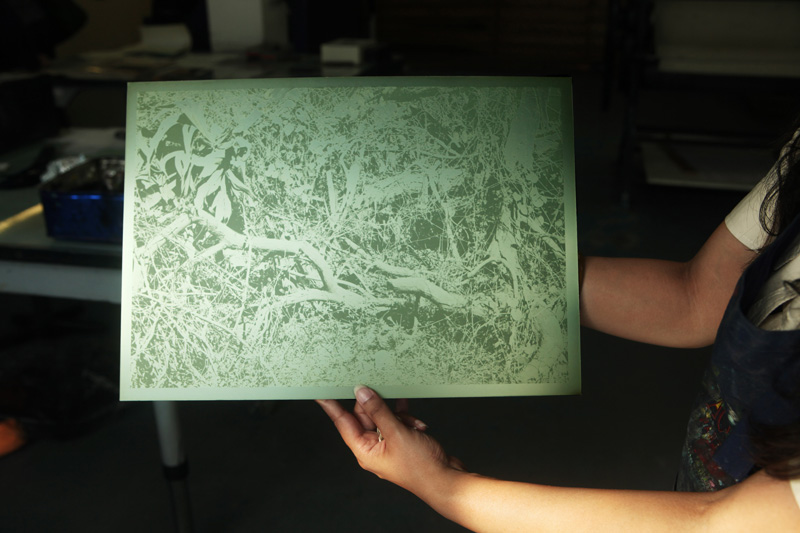
PHOTOPOLYMER GRAVURE A photopolymer is a polymer that changes its properties when exposed to light, often in the ultraviolet frequency of the electromagnetic spectrum. Although photopolymers have been used in industrial processes for several years, their use in fine art printmaking is relatively recent," writes the artist. "A drawing or photographic image on transparent high-quality film is placed on the photopolymer plate and exposed to ultraviolet light in varying degrees. It is then developed and hardened at different stages before it is ready to print." This process bears an affinity both to traditional engraving techniques such as aquatint, which emphasizes effects of tone rather than line, and to early photography conceived literally as 'drawing with light'. Sonia uses light-sensitive Toyobo KM73 polymer plates with a flexible steel backing, and hand-ground earth pigments as her inks to achieve a range of sepia and olive tones when the image is printed. PLATE MAKING PROCESS The Toyobo polymer plate is taken out from the light proof package and placed in the Parker UV Light Unit. The plate must be checked thoroughly as any dents or damages will not allow the positive/artwork to be properly exposed. The acetate covering is removed from the surface of the plate. I advise using masking tape to seal the sharp edges of the plate so that the aquatint screen and the glass don't get scratched. The bed and glass of the UV unit must be cleaned thoroughly so that there's no dust. The plate is fixed on to the bed of the UV unit. The aquatint screen is dusted with talc and is ready to be place face down on the plate for the first level exposure. The aquatint screen should be free of any dust particles and scratches. The photopolymer plate is highly sensitive and any scratches will get exposed on to the plate. Once the aquatint screen is in place, the glass top of the UV light unit is pulled down and locked in to place firmly. The vacuum is turned on for 2-5 minutes to ensure an even seal. Ensure full power is on at this stage. Adjust the time on the display and set the time for accurate exposure. Usually every studio sets a standard time for the first level of exposure depending on the machine and the experience of the studio technicians. This timing should be maintained for exposing the aquatint screen. The lid is flipped and the machine is locked into place. The machine is run by pressing the button to start exposure. While the plate is being exposed, I suggest keeping the positive/artwork film ready. I recommend dusting the film lightly with talc or fine chalk powder so that the film does not adhere to the plate with the heat from the UV unit during exposure. This could cause some of the ink from the film to transfer on the plate, something that we definitely need to avoid. Once the first level of exposure is done, the Unit is flipped back up, the glass reopened, and the masking tapes are removed from the plate. The final film/positive is place on the plate emulsion side down and prepared for final exposure. Any final adjustments are made, the film and bed are both dusted to avoid any dust particles. The exposure time is set on the machine. The unit is flipped and the plate exposed to UV light. After exposure, the unit is flipped back, glass opened and the film is gently removed from the plate. The exposed plate is taken immediately to the acid room where it will be developed. It is always advised to wear a mask while working in the acid room. Further, although this process is mostly nontoxic, the polymer does give out some fumes during developing. Once exposed, the plate is washed out in water and gently stroked with a soft sponge. The unexposed polymer will gradually be washed away. The longer the plate is in the water, the deeper the bite, so at this stage we must be careful and not allow the plate to be in water for a long duration. The plate is finally rinsed in running water. The ideal developing time for photopolymer plates is 1.30-2.30 minutes. This next stage is crucial. The plate is patted sharply and in quick successions with a chamois. This helps to quickly remove the excess water from the plate. If the water remains on the plate, it will leave marks commonly referred to as 'water marks' that will print as tone on the final image. The chamois must be changed to the dryer side once saturated. It is essential to be extremely quick and alert at this stage. The plate is checked thoroughly for any visible pools of water. If there are water pools, they should be blotted immediately and quickly before they dry out on the plate surface. The developed plate is placed in the dying unit/cabinet for around 10 minutes, before the hardening process. It is imperative that the plate should be touch dry before the hardening/ post exposure process. After removing the plate from the dryer, we find that the plate is touch dry and ready for the hardening process. At this stage the image appears on the plate and is seen quite clearly. The color of the plate at this stage is a rich yellow-green. The exposed plate must then be cured by a second exposure to UV light. This process is called Post-exposure, and it hardens the plate. If the plate is still slightly sticky, it's advisable to post expose the plate for longer. Post exposure time is usually standardized by the studio technicians according to the UV unit in use at the studio. However, finer points must be observed as there is no fixed rule and slight alterations may occur if the machine is overused, over heated etc. So it is best to be watchful and observant. Also, we learn more with experience! The post exposed plate that is properly hardened obtains a bluish colour as is visible in the image. The photopolymer plate is now ready for inking and printing. Excerpts from 'Photopolymer Gravure: a project report by Sonia Mehra Chawla', for Charles Wallace India Trust and British Council India, 2015 http://www.aestheticamagazine.com/yinchuan-biennale-2016/ |
|
 |
 |
 |
||
 |
 |
 |
||
 |
 |
 |
||
 |
 |
 |
||
 |
 |
 |
||
 |
 |
 |
||